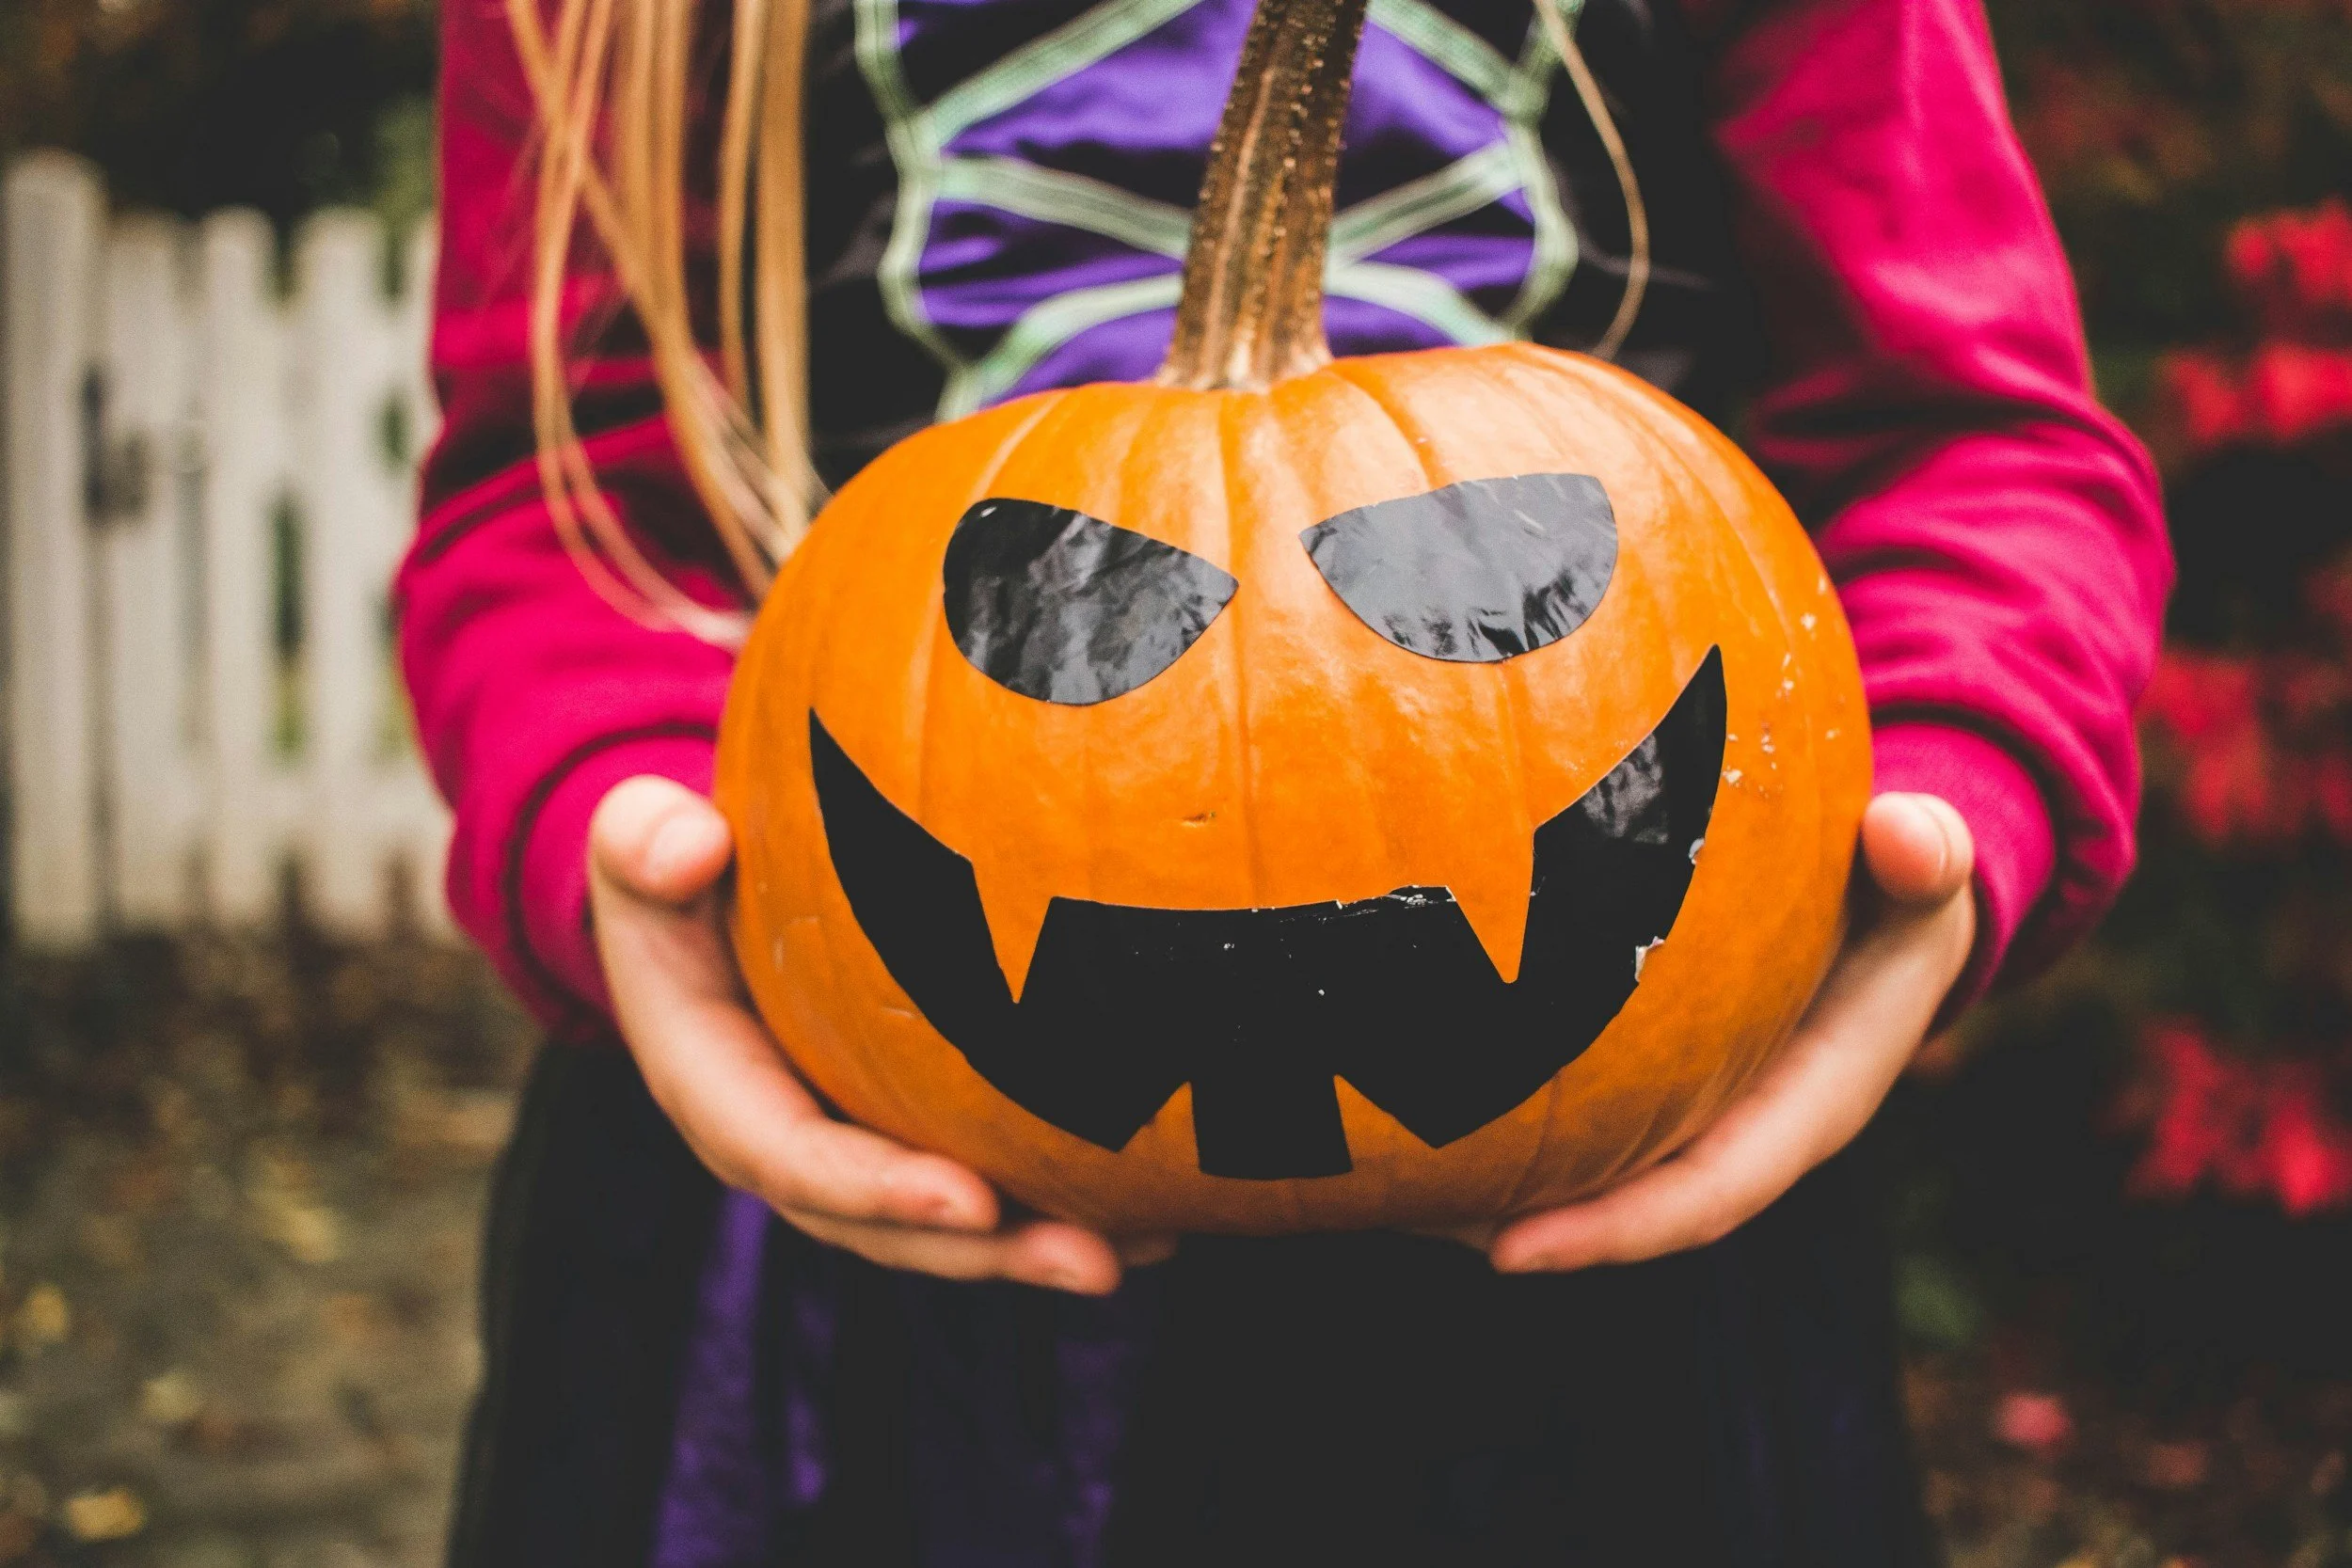
Pretty Pumpkins: Ways to Decorate
Carving, painting, and decorating pumpkins is a long-loved fall tradition for many. There are options for all ages and artistic abilities - this project is for all! Here are some unique ways to decorate your pumpkin this October to put on your porch, your backyard, or on your mantle. Check out the videos above for more inspiration!
Classic Carving:
Messy and fun, carving a jack-o-lantern is the most classic halloween decoration. Here are a few things you’ll want to know before diving in!
THINGS YOU’LL NEED:
A pumpkin
A sharp knife or a pumpkin carving kit - you can get these at any store
A large spoon or pumpkin scoop
A marker or pen
Newspaper or a large trash bag (to catch the mess)
A bowl (for the seeds and pulp)
A candle or LED light (for illumination)
Step 1: Choose the Right Pumpkin
Start by selecting a pumpkin that is fresh and firm. Look for one with a smooth surface, as this will make it easier to carve. Avoid pumpkins with soft spots or bruises, these are more likely to rot.
Step 2: Cut the Top Off
Use a sharp knife to cut a circle around the stem of the pumpkin. The hole should be large enough for your hand to fit through. Once the top is cut, remove it and set it aside.
Step 3: Scoop Out the Insides
We call these “the guts”! Using a large spoon or a pumpkin scoop, remove all the seeds and stringy pulp from the inside of the pumpkin. Be thorough, because a clean interior will help your pumpkin last longer and make carving easier. You can even save the seeds to roast later for a tasty snack - yum!
Step 4: Draw Your Design
With a marker or pen, draw your design on the outside of the pumpkin. You can create a simple face, an intricate pattern, or even use a stencil for more complex designs. If you’re using a stencil, tape it to the pumpkin and trace the design by poking holes along the lines. You can find lots of options for stencils online.
Step 5: Start Carving
Using a small serrated knife or a pumpkin carving tool, carefully cut along the lines of your design. Take your time, especially with intricate details!
Step 6: Clean Up the Edges
Once your design is carved, go back and clean up any rough edges or pieces that didn’t cut through completely. You can use a smaller knife or a carving tool for more precision.
Step 7: Light It Up
Place a candle or an LED light inside the pumpkin to illuminate your design. If you're using a candle, be sure to cut a small vent in the lid to allow heat to escape. LED lights are a safer alternative, especially if you’re displaying the pumpkin indoors.
Then put your pumpkin on display! I love walking the neighborhood at night and seeing the glow from funny or spooky jack-o-lanterns on front porches.
Painted Pumpkins
If you’d rather not get into all the mess of carving, or if you’d like to try something new this year - painted pumpkins are a great option! You still get the creativity and fun from decorating and can sometimes get even more intricate!
Materials You’ll Need:
A pumpkin (real or artificial)
Acrylic paints
Paintbrushes
Paint pens or markers
Painter's tape (optional for sharp lines)
Newspaper or a drop cloth
A cup of water (for rinsing brushes)
Paper towels
Clear sealer (optional for a glossy finish)
Step 1: Choose Your Pumpkin
You can paint a real pumpkin or select an artificial one to keep for years. Either option is fine - just make sure it is a clean and dry surface with minimal bumps and bruises.
Step 2: Prepare Your Workspace
Lay down newspaper or a drop cloth to protect your work surface from paint spills.
Step 3: Plan Your Design
Decide on the design you want to paint. Going for the classic ghosts or witches? Or maybe you’d rather do something more personal like names of your family members or a painting of your dog. If you're not confident in freehand painting, you can sketch your design on the pumpkin lightly with a pencil first, or use stencils for more intricate designs.
Step 4: Start Painting
Begin painting your design, starting with the larger areas and base colors. Use a larger brush for filling in big sections and smaller brushes for details. If you’re using multiple colors, allow each layer to dry before adding the next to avoid smudging. Acrylic paints dry relatively quickly, but you can speed up the process with a hairdryer set on low if needed.
Step 5: Add Details
Once the base layers are dry, use smaller brushes or paint pens to add details like outlines, patterns, or highlights. Painter’s tape can be used to create sharp lines or geometric patterns. Make sure to press the tape down firmly to prevent paint from seeping underneath.
Step 6: Let It Dry
Allow the pumpkin to dry completely. Depending on the amount of paint used, this could take anywhere from a couple of hours to overnight.
Step 7: Apply a Clear Sealer (Optional)
If you want to protect your design and give your pumpkin a glossy finish, apply a clear sealer over the entire surface. This step is particularly useful if you plan to display your pumpkin outdoors, as it helps to prevent the paint from chipping or fading.


